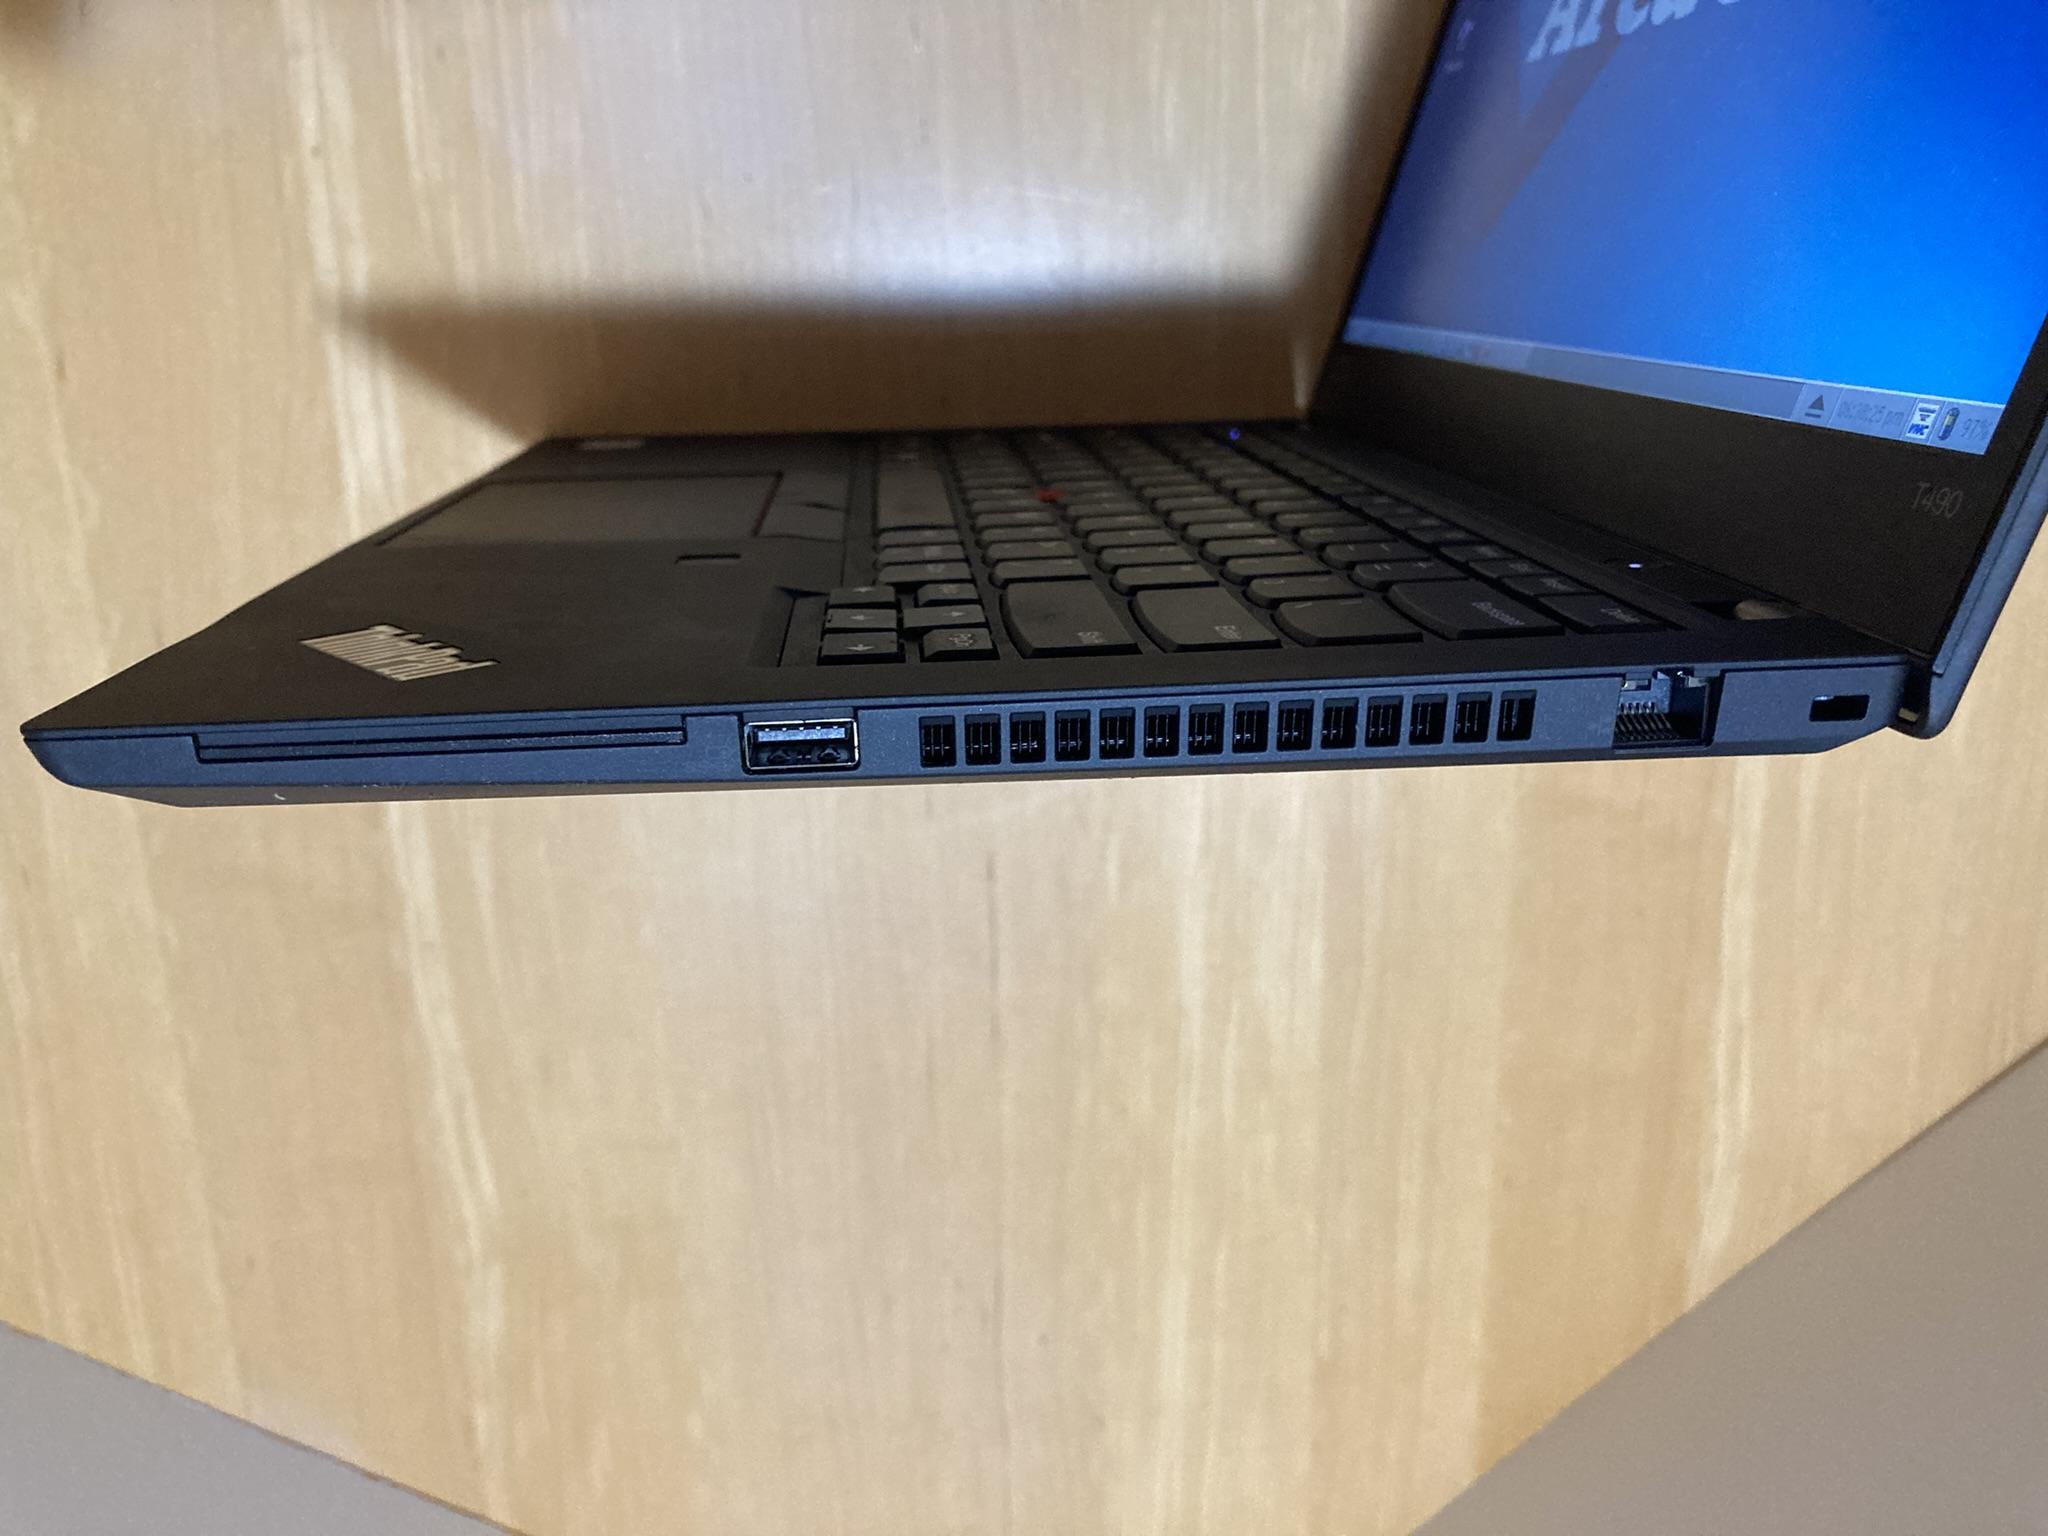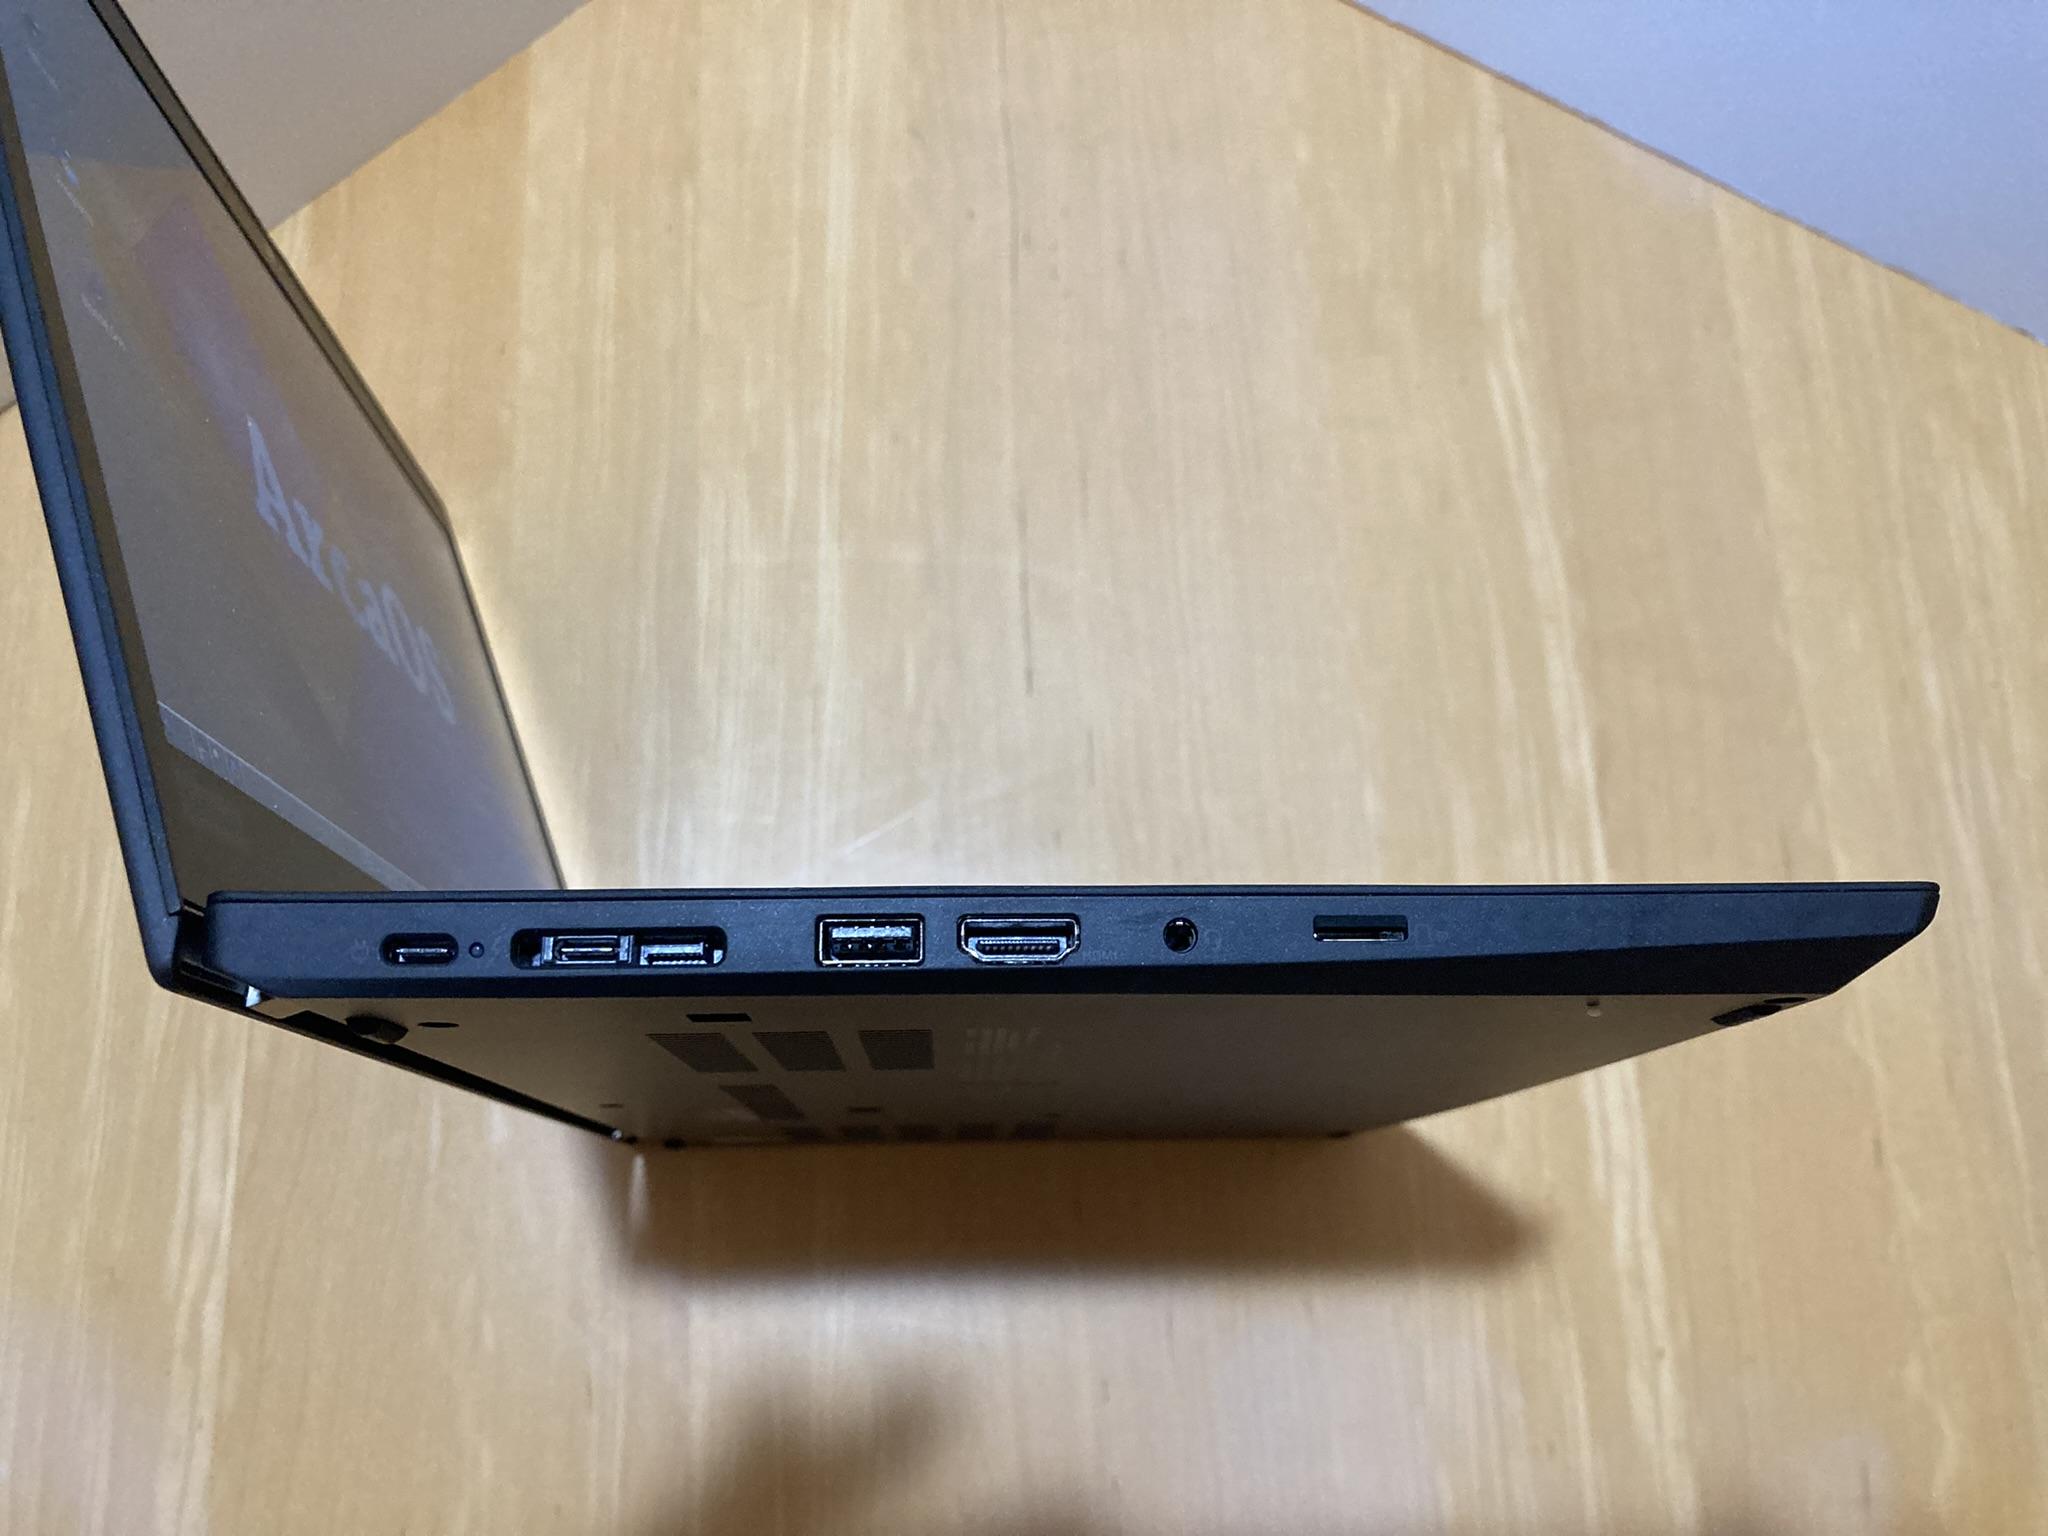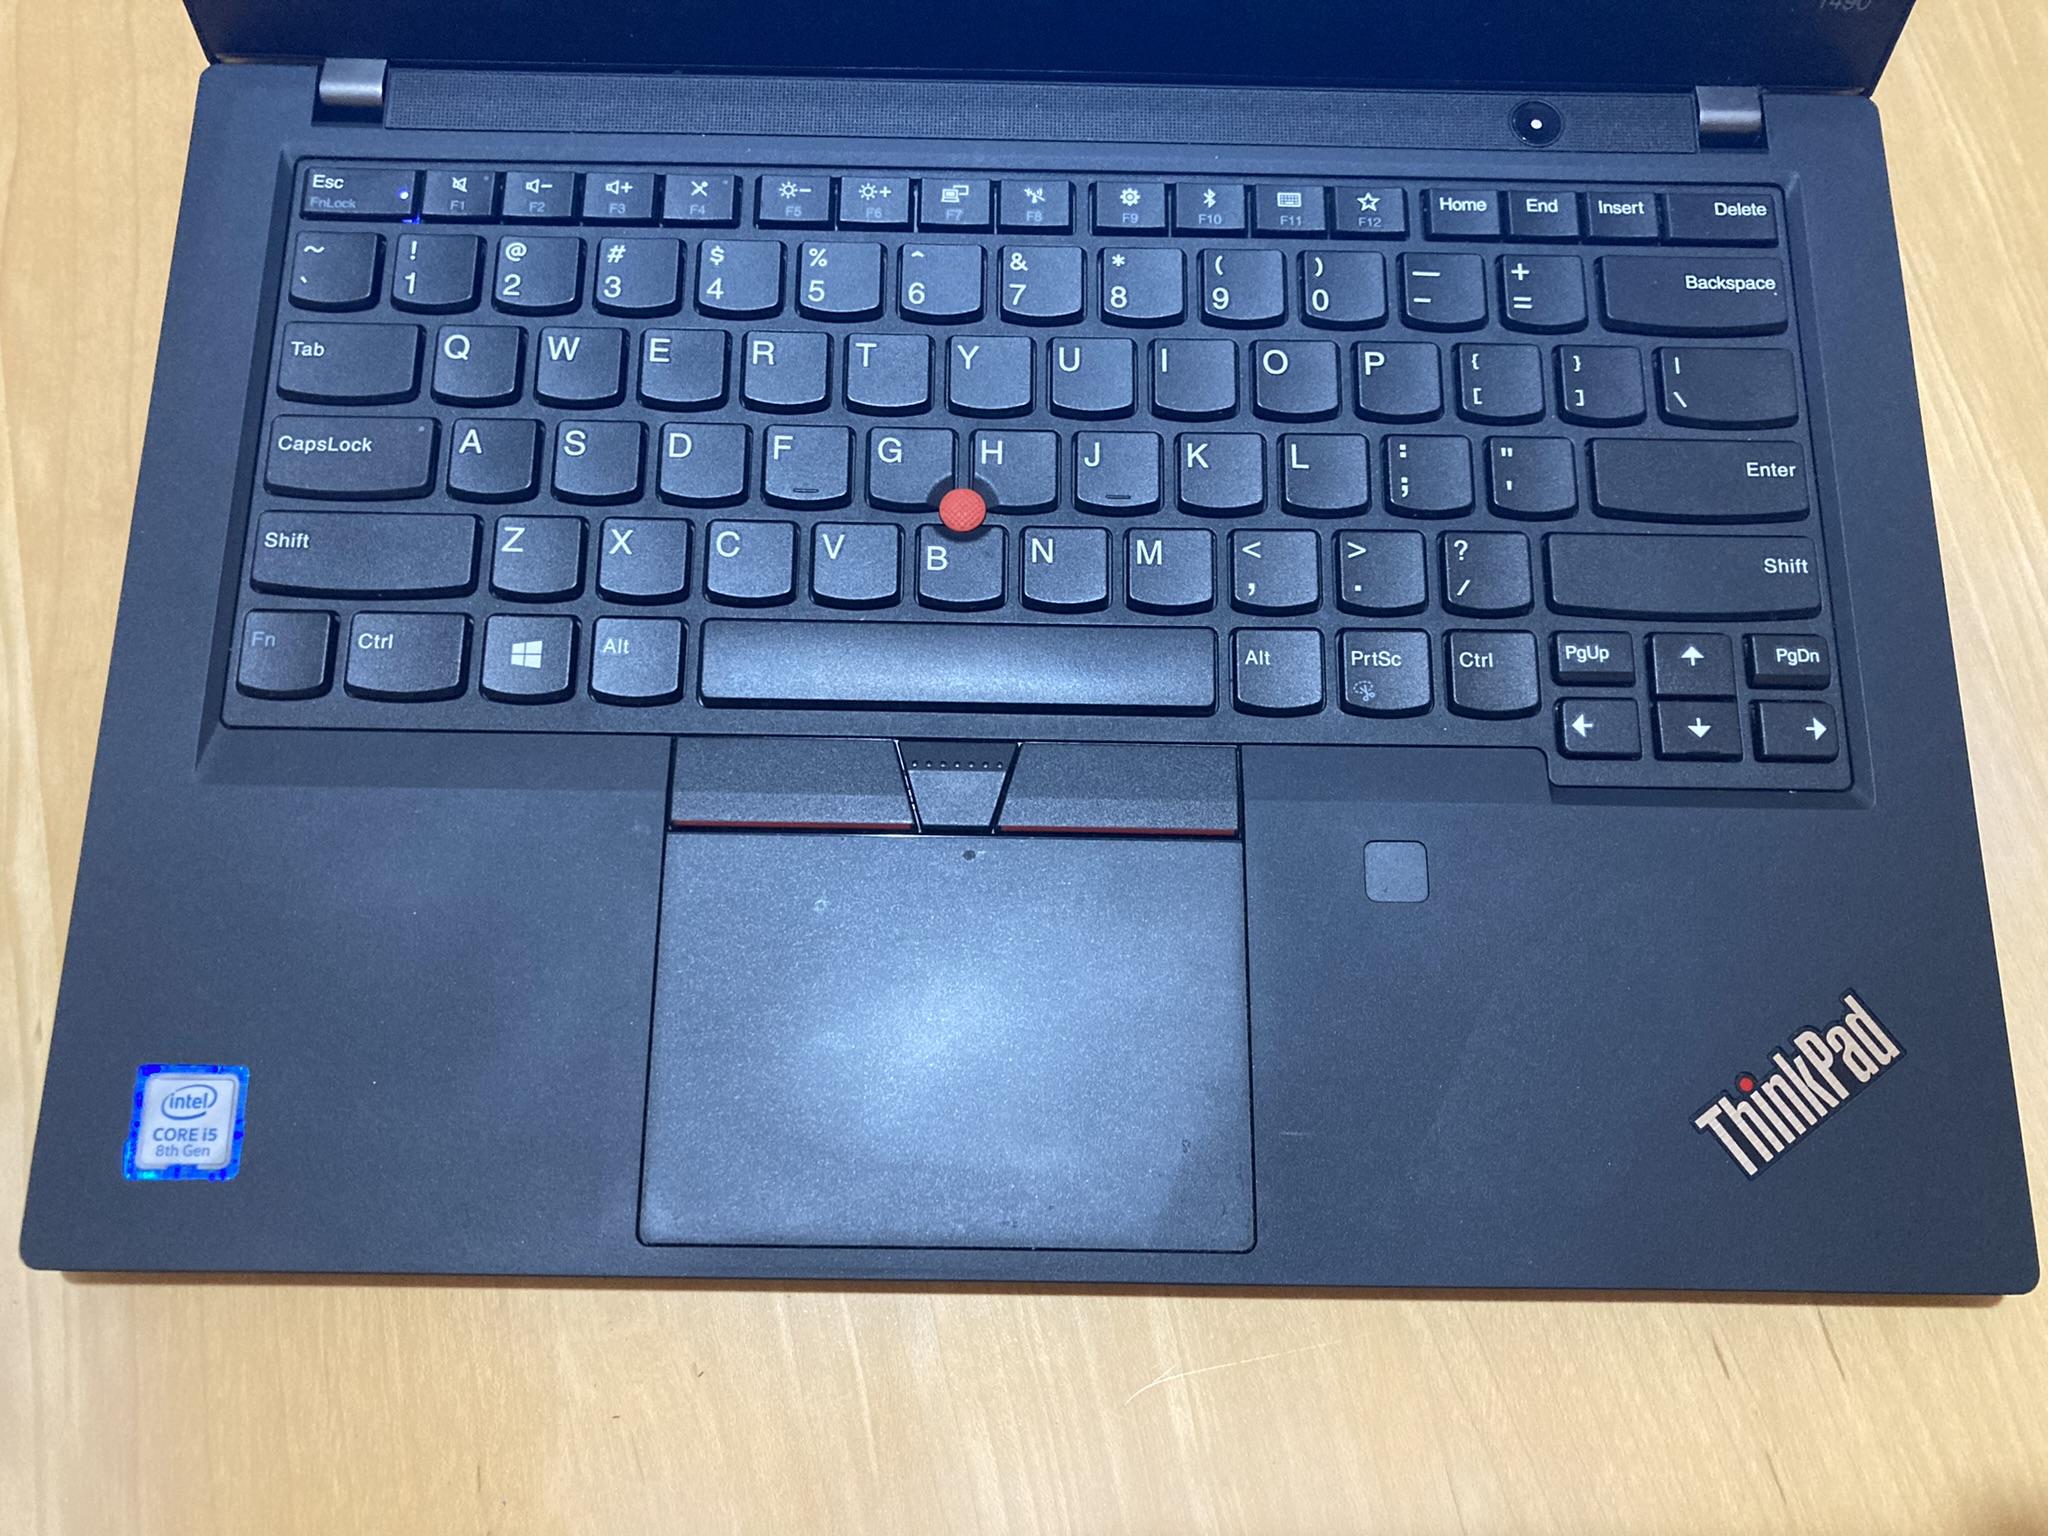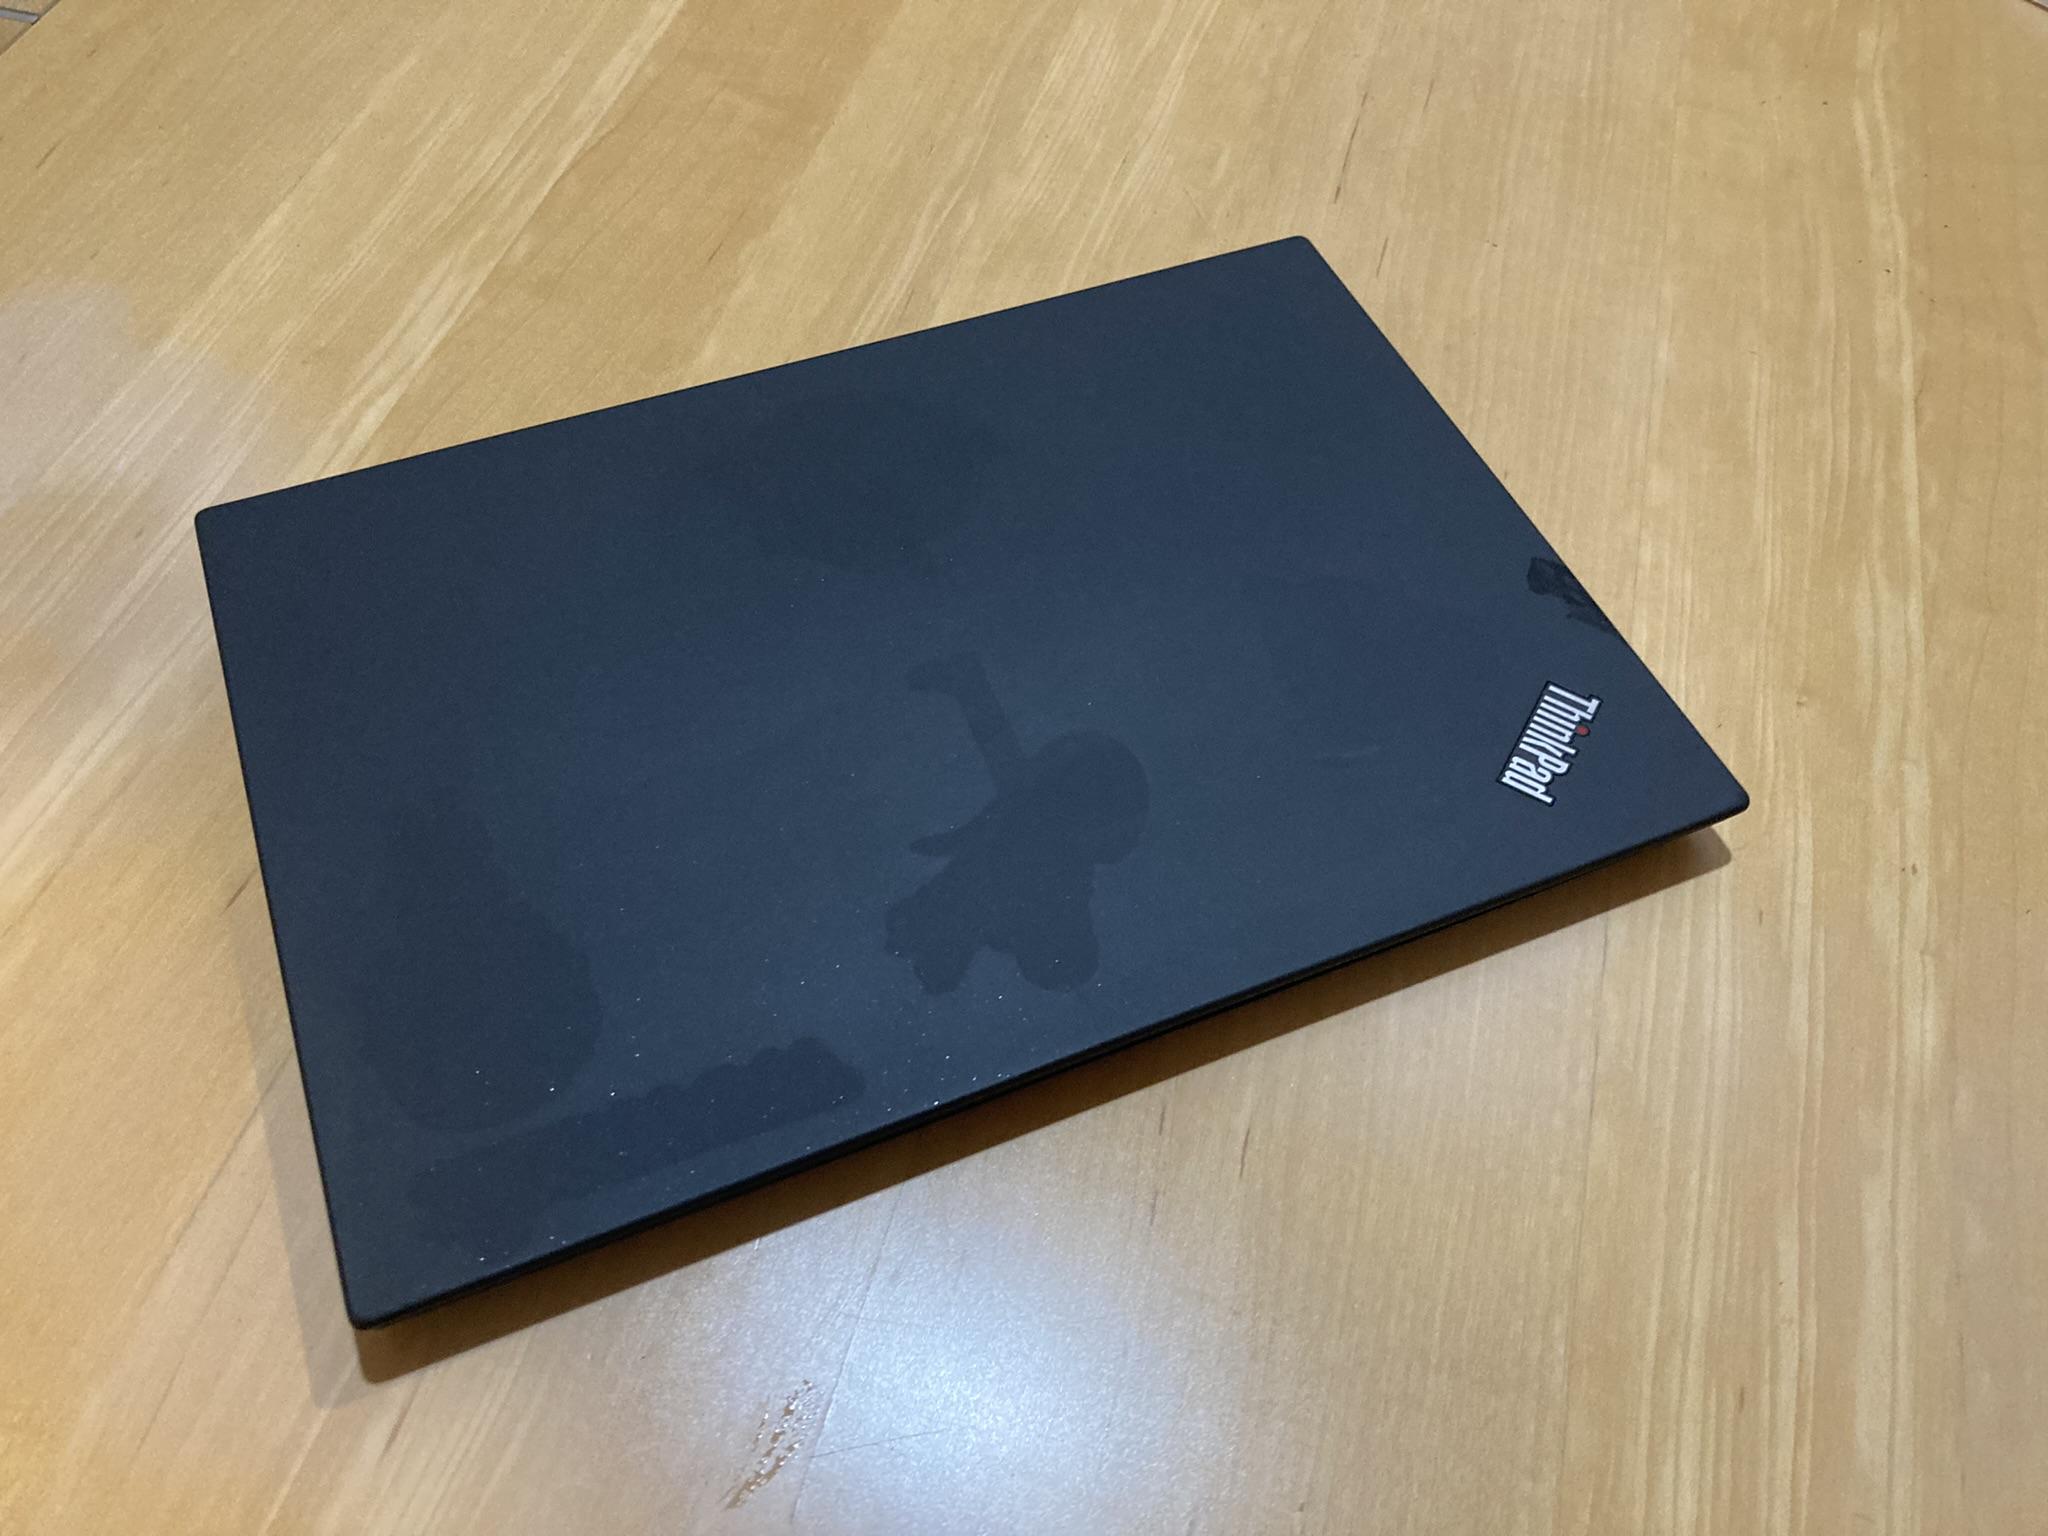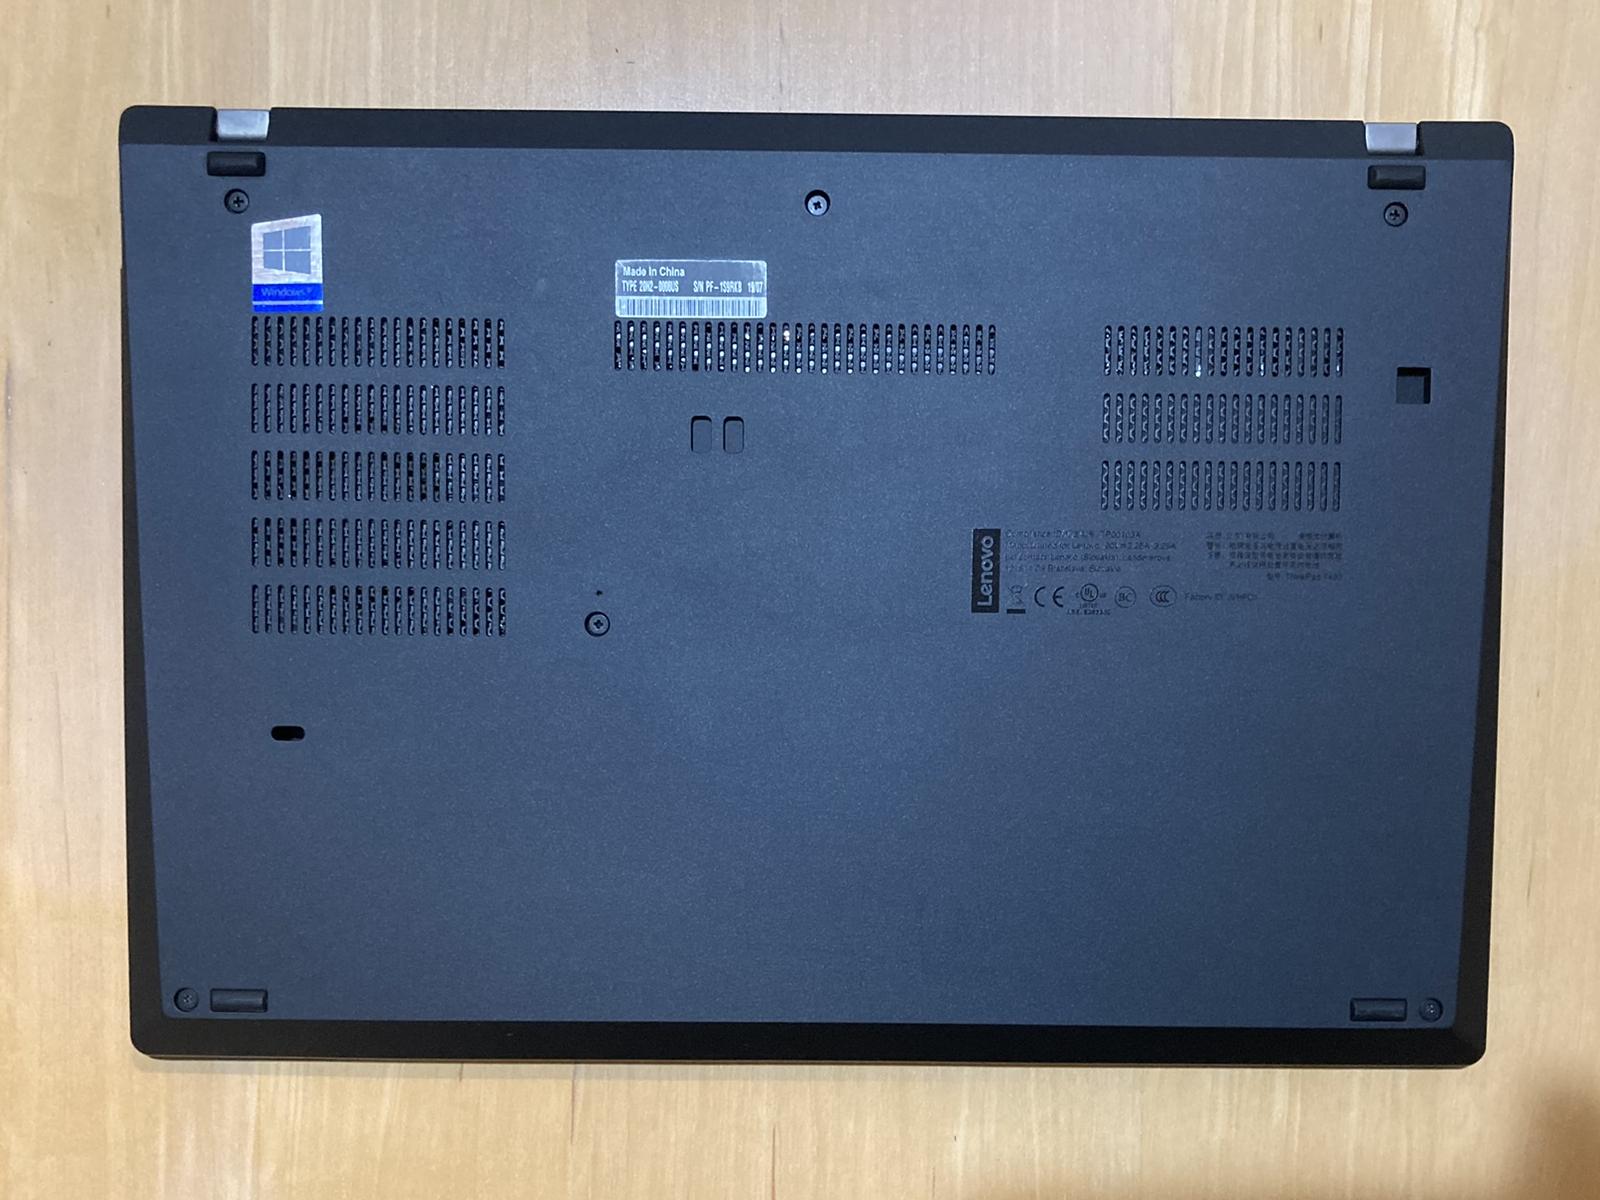

This IBM Thinkpad is a reliable and portable computer, equipped with a powerful CPU and graphics. The built-in screen, with its 1366 x 768 HD resolution and IPS technology, delivers bright and clear visuals. It's configured to dual-boot ArcaOS 5.1 and Windows 11, giving you the flexibility to choose the operating system that best suits your needs. Whether you're at your desk or on the go, this Thinkpad is designed to keep up with your demands.
If you want to buy this computer, hit the order button below. Blonde Guy will review your order and send you an invoice, payable using PayPal or any major credit card. If you prefer to pay by check, note that in the notes field of the order form, and I will e-mail you an invoice payable by check.
Model: Thinkpad T490
Model number: 20N20008US
Year introduced: 2019
CPU: Intel(R) Core(TM) i5-8265U CPU @ 1.60GHz 4 cores
Screen: 14.0 inch Color LCD, 1366 x 768 pixels
RAM: 16 GB
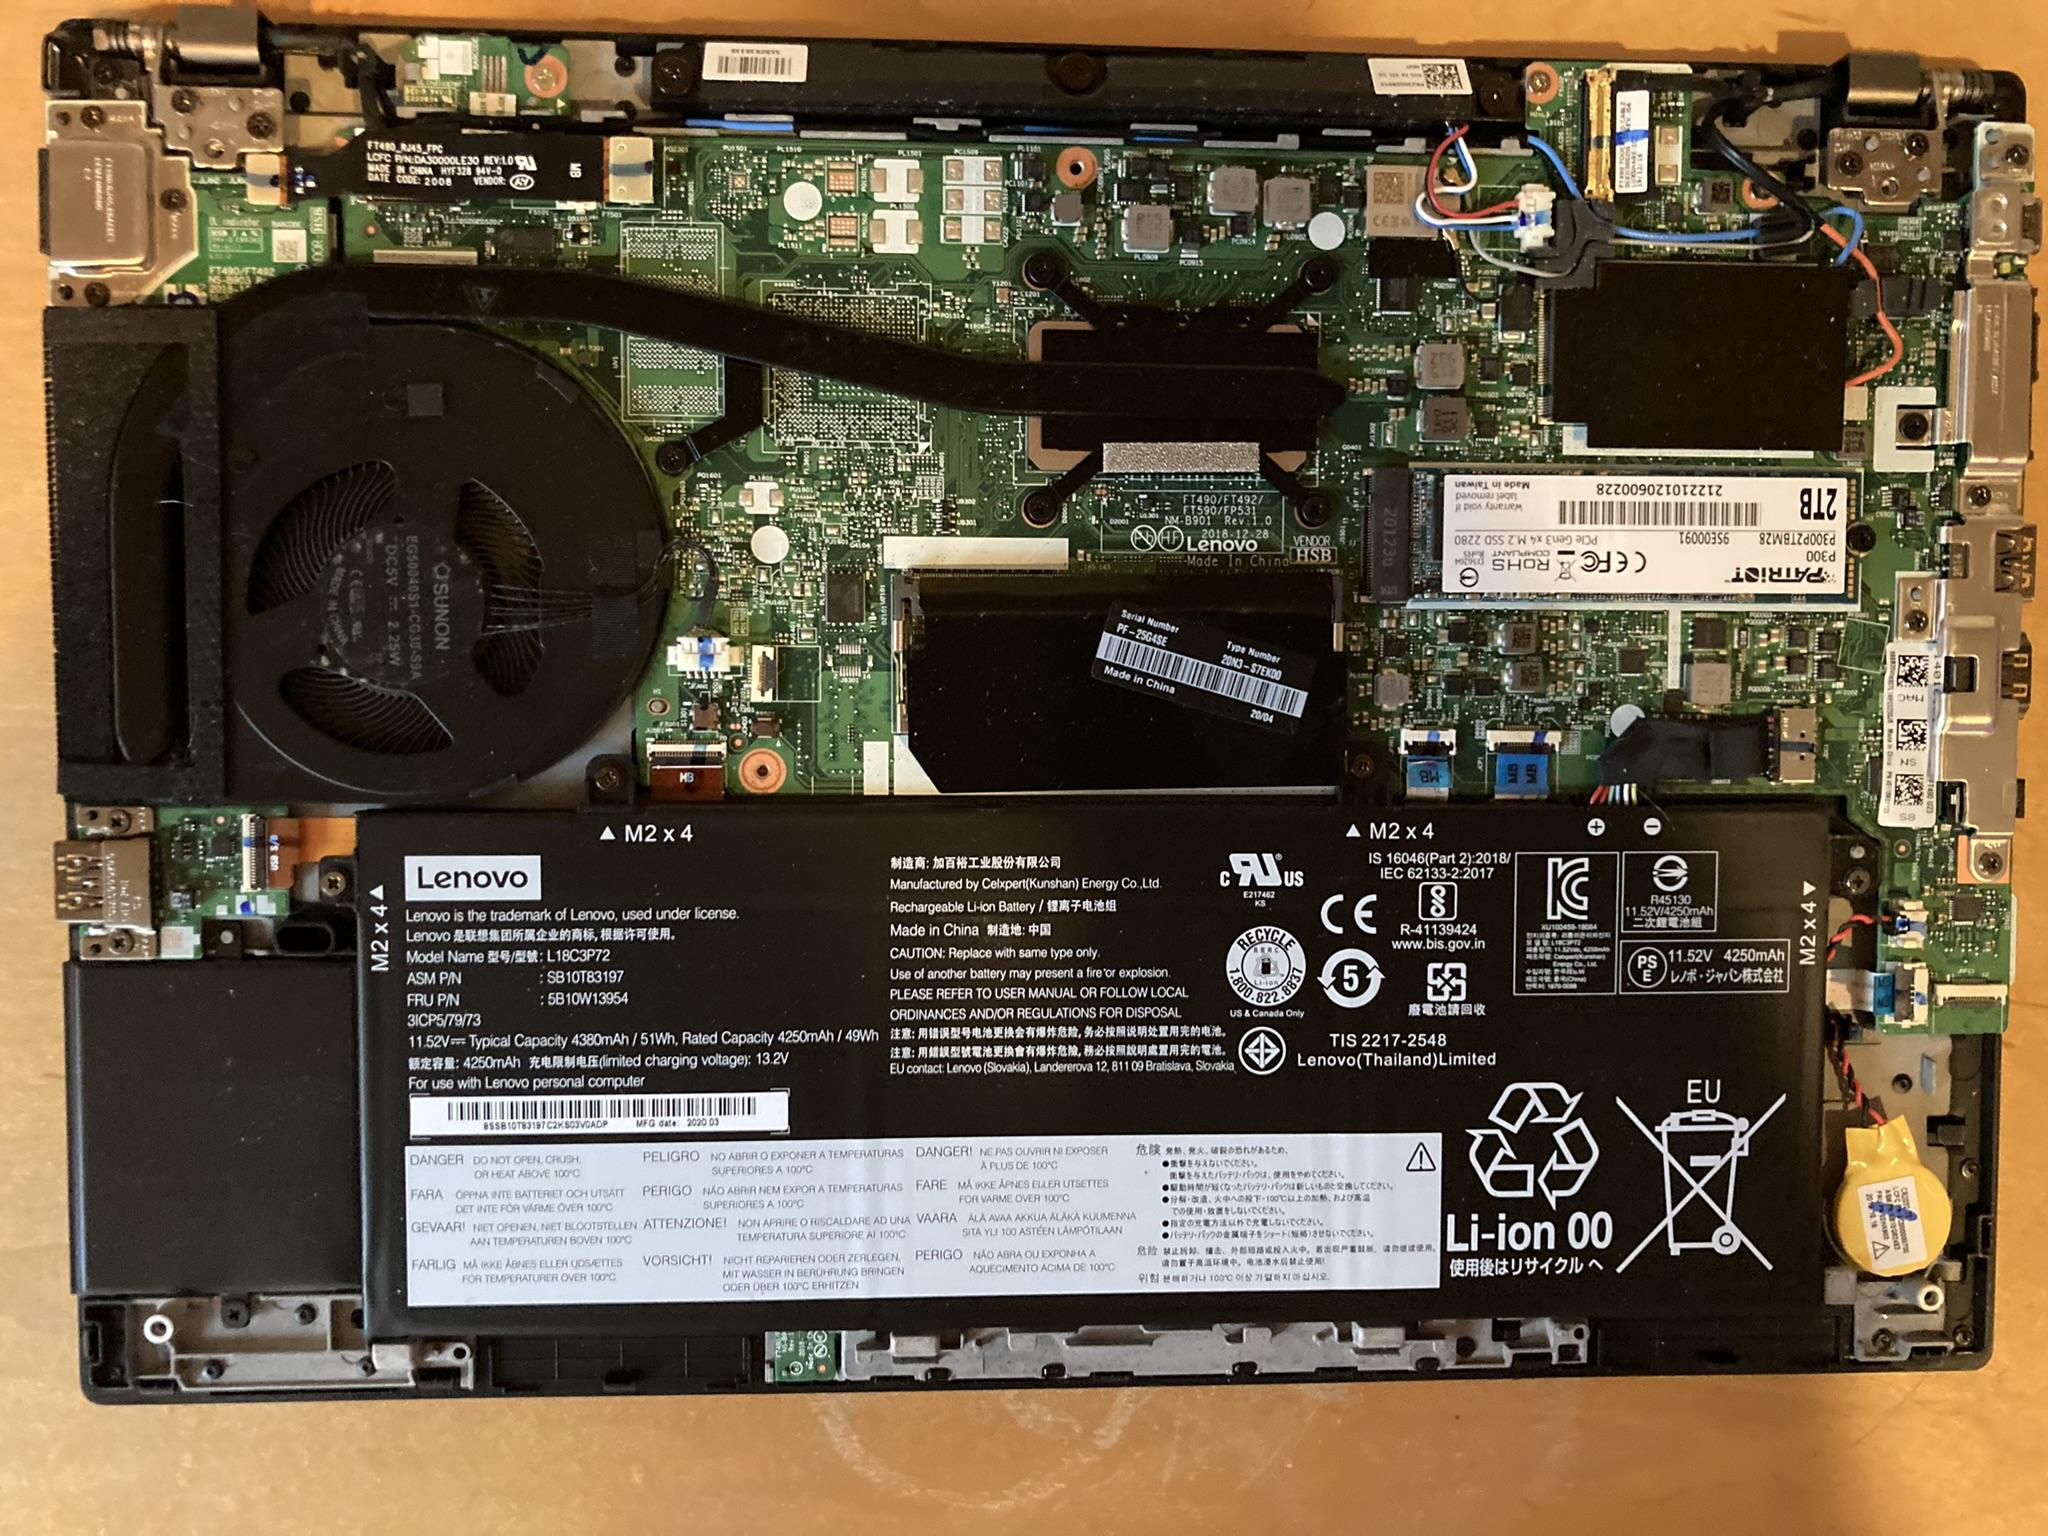
Hard drive: 256 GB M.2 PCIe Gen3 x 4 NVMe SSD
Optical drive: None
Intel UHD Graphics 620
Intel Pro/1000 PL 10/100/1000 network adapter using MultiMac32 E1000B driver
USB 3.1 Ports: 2
USB-C Ports: 2
Webcam:HD 720p with ThinkShutter
Height: 0.74 inch
12.95" x 8.94" x 0.74"
Width: 12.95 inches
Depth: 8.94 inches
Weight: 3.22 lbs
Power consumption is 11 Watts, measured with the computer booted to the desktop. This computer consumes less than 1 Watt if it's plugged in, but switched off. When charging a depleted battery, it consumes up to 31 Watts.
Battery Power lasted 4 hours, 25 minutes under ArcaOS 5.1.
The built-in webcam is not working. Webcam software will work after a future upgrade of the Arca Noae USB 3.0 driver software.
The laptop can use any memory left over from 32-bit usage as a RAM drive. For 16 GB RAM models, this RAM drive has 14.2 GB, drive letter Z:, and is formatted HPFS.
This laptop boots to the desktop in 36 seconds. That's important, because suspend/resume does not work. To make up for that, the laptop can do a clean power down when the lid is closed.
There is no ArcaOS support for the bluetooth or fingerprint reader. Support for the internal WiFi is under development at Arca Noae.
The disk is partitioned to provide bootable operating system volumes for ArcaOS and for Windows. Space is left for an addtional bootable volume. User data is stored on a separate volume.
This is the layout for the 2 TB SSD. The AN Launcher boot manager is installed to select the volume to be started.
| Volume Name | Disk Format | Drive Letter | Volume Size (MB) | Disk Name |
| EFI System | FAT32 | Y: | 512 | NVMe SSD |
| Microsoft Reserved | N/A | 128 | NVMe SSD | |
| ArcaOS-F | JFS | C: | 8,000 | NVMe SSD |
| free space | N/A | 8,000 | NVMe SSD | |
| Data-D | JFS | D: | 84,000 | NVMe SSD |
| Windows Basic Data | NTFS | 261,200 | NVMe SSD |
ArcaOS 5.1.0 (August 26, 2023) is the version used for this installation.
The SysBench 0.9.5 program no longer works well enough to report its results. Blonde Guy has the source code and will fix the program when time permits. Until then, the only report will be CPU power from PassMark Software.
CPU: Intel(R) Core(TM) i5-8365U CPU @ 1.60GHz 4 cores
CPU Mark: 6249
There are 27 PCI devices found by the PCI 1.04vkA program.
| 8086:3E34 | Bridge PCI to HOST |
| 8086:3EA0 | Display VGA |
| 8086:1903 | Data Aquisition & Signal Processing Other |
| 8086:1911 | System Other |
| 8086:9DF9 | Data Aquisition & Signal Processing Other |
| 8086:9DED | Serial USB (UHCI), programming interface 30 |
| 8086:9DEF | Memory RAM |
| 8086:9DF0 | Network Other |
| 8086:9DE8 | Serial Other |
| 8086:9DE0 | Simple Communication Other |
| 8086:9DB8 | Bridge PCI to PCI |
| 8086:9DBC | Bridge PCI to PCI |
| 8086:9DB0 | Bridge PCI to PCI |
| 8086:9DB4 | Bridge PCI to PCI |
| 8086:9D84 | Bridge PCI to ISA |
| 8086:9DC8 | Multimedia Unknown! |
| 8086:9DA3 | Serial SMBus Controller |
| 8086:9DA4 | Serial Other |
| 8086:15BE | Network Ethernet |
| 17A0:9750 | System SD Host Controller (With DMA) |
| 8086:15C0 | Bridge PCI to PCI |
| 8086:15C0 | Bridge PCI to PCI |
| 8086:15C0 | Bridge PCI to PCI |
| 8086:15C0 | Bridge PCI to PCI |
| 8086:15BF | System Other |
| 8086:15C1 | Serial USB (UHCI), programming interface 30 |
| 1179:0113 | Storage Unknown! |
Each Blonde Guy ArcaOS preloaded computer comes with a standard load of software. This page lists what is in the current pre-load. This list is updated over time to incorporate new essential OS/2 software as well as to keep up to date versions of existing software. When you receive your ArcaOS preloaded computer, you will have Blonde Guy's best installation of the latest OS/2 software.
The recovery USB stick supplied is a bootable ArcaOS USB stick with a backup of the hard drive as delivered. You can boot the machine from USB stick, and perform maintenance functions. The maintenance folder is available on the recovery USB stick. The factory backup is stored in the \Factory directory. The backups are simple zip files. You can use 7z or unzip to extract some or all of the files in a backup.
This section documents what I did to get this computer to work under ArcaOS. It is intended to show what goes into this computer, and also as a guide to the user who wants to build it himself.
The installed BIOS is 1.78 (10/14/2022) and the EC is 1.26. The current BIOS is 1.78 and EC is 1.26. The Lenovo System Update program is run under Windows to ensure the system is up to date.
I made the following changes to the default BIOS settings. Then I powered the Thinkpad down and up.
The Lenovo Hardware Maintenance Manual says to turn off the internal battery before opening the case, then remove 8 screws and pry 8 tabs to open the entire back of the case. The drive was easily replaced.
I booted the ArcaOS USB stick, and in System Maintenance, I prepared the hard drive.
I installed one bootable volume, C:. The C: drive has a Custom installation that is on the minimal side.
Sound is working normally on the laptop. Audio works well, both external speakers and headphones are working. The Uniaud driver from Arca Noae provides sound through the internal speakers.
Using Suntan Special I run sequences ArcaOS51, apps, games, dev and cleanup. This is saved as the Factory image. This is normally what would be supplied on the computer.
The built-in video is supported by the Panorama video driver.
If Windows is installed first, then it can shrink itself to make room for ArcaOS. It also needs to shut down safely (see below for instructions). To shrink the windows partition:
I installed Windows after I installed ArcaOS. I had made a free space, and Windows allowed me to select it for installation. After installation and self-update completes, the machine only boots Windows. I needed to restore the ability to boot Windows or ArcaOS.
The first step is to enable Windows to shut down safely. To disable Fast Startup for Windows 10, do the following:
Shutdown Windows and boot from the ArcaOS 5.1 installation USB stick. To enable multi-boot, do the following:
If am external monitor, then this is how it will work. The computer is set to the native screen of 1920 x 1080. If your monitor is the same, then nothing needs to be done to switch to and from an external monitor. If the computer monitor is different than 1920 x 1080, then the screen resolution can be adjusted to the optimal values. For example, I tested with a computer monitor with a resolution of 1920 x 1200. When I switch to my external monitor, the computer changes to 1600 x 1200. I enter 1920 x 1200 into the screen applet and reboot for optimum resolution. When I switch to the built in display, the same action is needed.

